- Advantos ERP v7 Online Documentation
- Admin Manual
- Contact Us
Remote Site Management
|
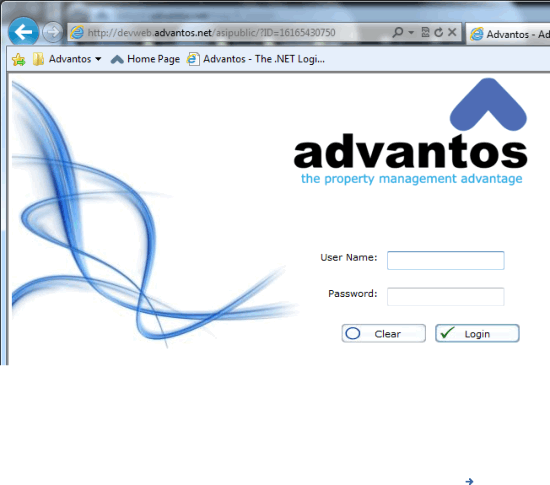
IntroductionThe purpose of this module is to provide a resident manager, or other remote-site staff, to access the Advantos Enterprise application. This module is designed as the Advantos Enterprise interface with these remote-site staff. It provides custom access to track receivables by letting those personnel post payments, add units, change the status of residents, and keep track of important dates related to resident information. When you use the Advantos Enterprise software, you will be connected to the Advantos Enterprise Server. You will be connected by a high-speed internet connection (like a DSL line or a cable modem) over the Internet. You must be connected to the Advantos Enterprise Server and you must log onto the Advantos Enterprise application before posting any transactions or accessing any reports. When you connect to the Advantos Enterprise Server, and log in, the entries you make will be posted to the Advantos Enterprise server. It will not be posted to the PC in your office. This is why it is very important that you post your transactions when they occur and not wait to do it at a later date. The main office is relying on you entering your information quickly so they can make decisions on what bills to be paid and what needs to be done to eliminate vacancies at your location. So be prompt and don't wait for entries to be made later - do it now! Navigation and Logging InOnce you are connected to the Internet, double click on the desktop icon supplied to you for Advantos Enterprise. A login screen will appear that looks like:
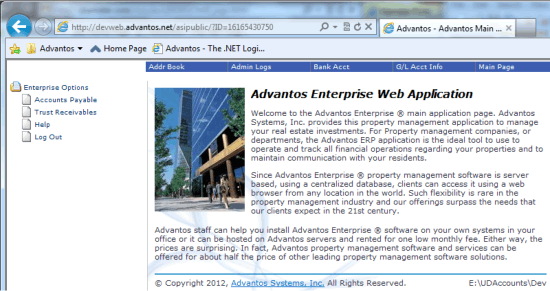
Enter your user ID, as given to you by the main office, and your password. Your password is 'case sensitive'. This means it must be entered exactly as defined. Your password will not be displayed as you type it. Click on the [OK] button to log in. Once you have logged in, your main menu screen should look like:
To navigate through the system, simply enter the correct number on the left of each function. For example, if you want to print the "Delinquent Aging" report, simply enter 3 at the "Enter Option Number Desired =>" prompt, then enter 1 again, then enter 1 again, then enter 1 yet again. Thus, you are entering 3.1.1.1 from the main menu. To get back to this main menu from any location, or to exit a data entry screen, simply click on the Main Menu link in the menu at the left.
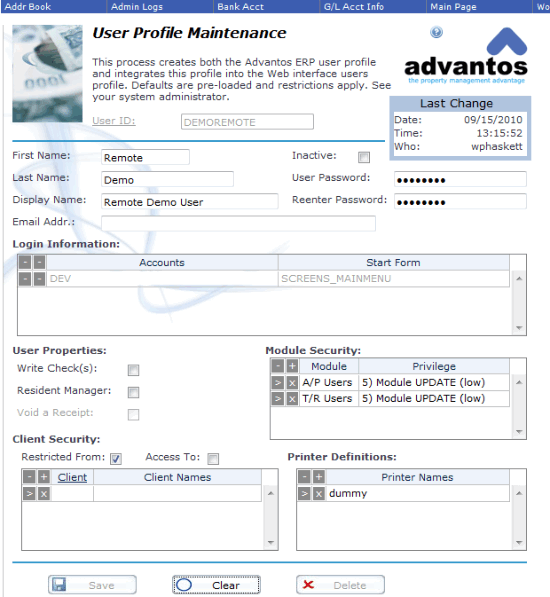
Follow messages at the bottom of screens. They contain information on how to proceed. For example, look at the next two (2) screens below: ConfigurationIn order to configure a remote user, a Windows user needs to be created with the appropriate permissions. Next, a Advantos Enterprise user profile needs to be created.
In this input screen simply enter "0_REMOTE" in the Main Menu# field. This is a "case-sensitive" field so be careful. Advantos Enterprise comes with an installed remote menu. To change it, contact Advantos support. This field determines what menu the used when the user logs into the Advantos Enterprise application. This can be any menu. A mapping schema can be created to map this remote menu to the normal Advantos Enterprise application menus. This ensures the appropriate options are used from the modified remote menu structure, including documentation. Rules to NoteThe following rules apply to this remote module:
|


